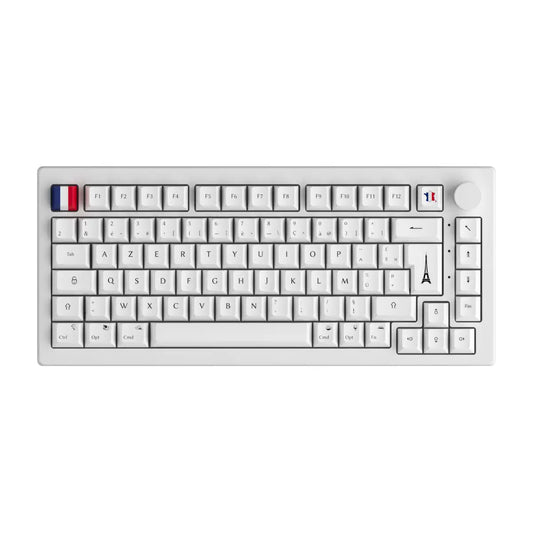
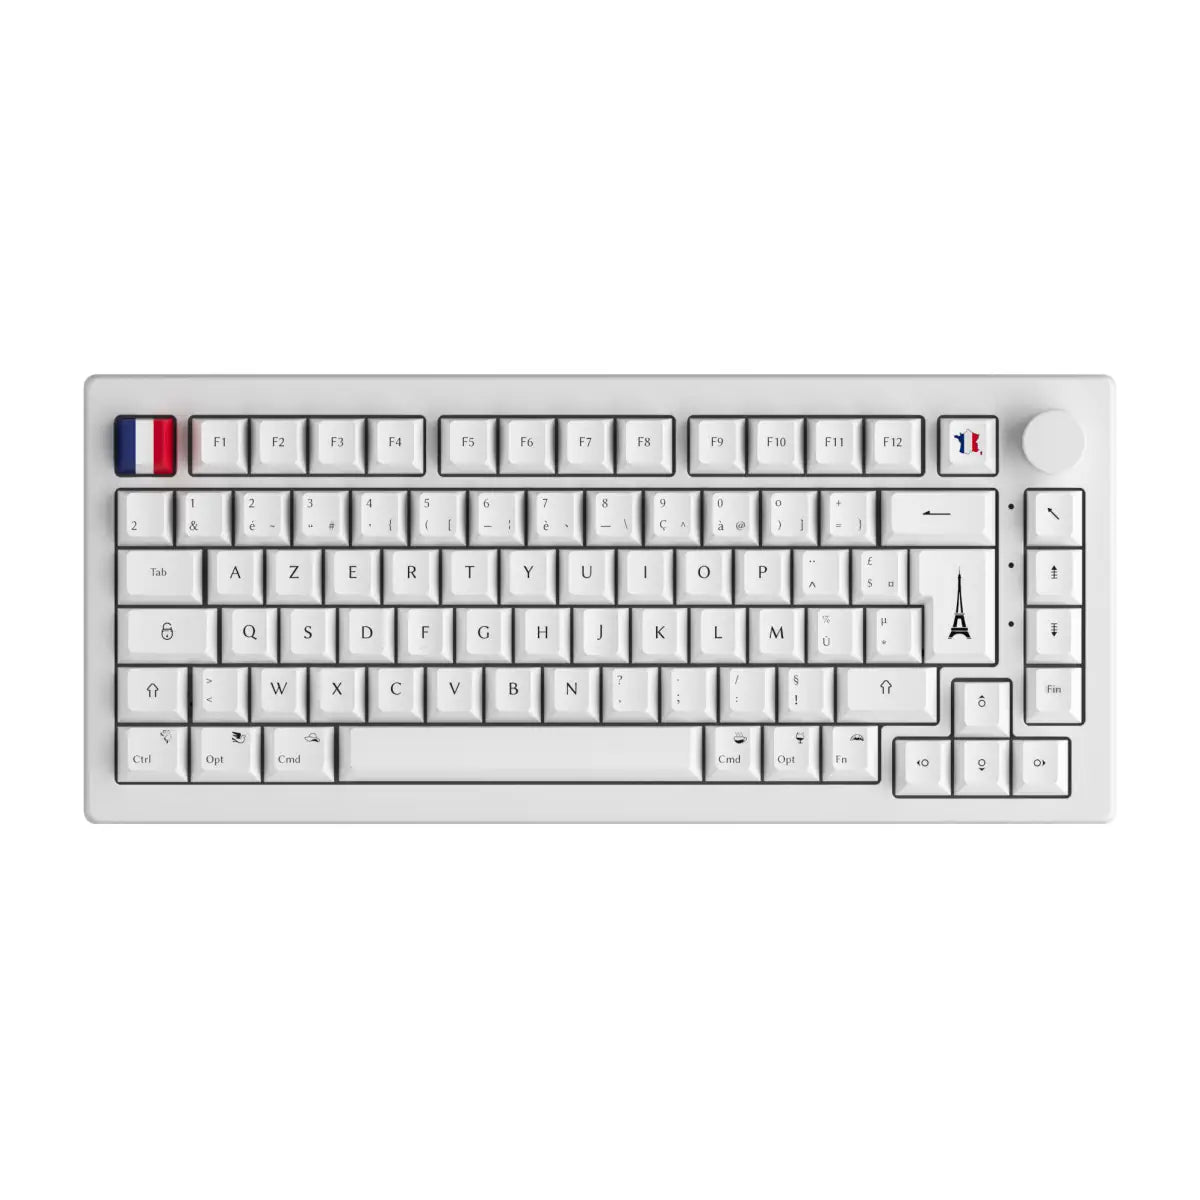
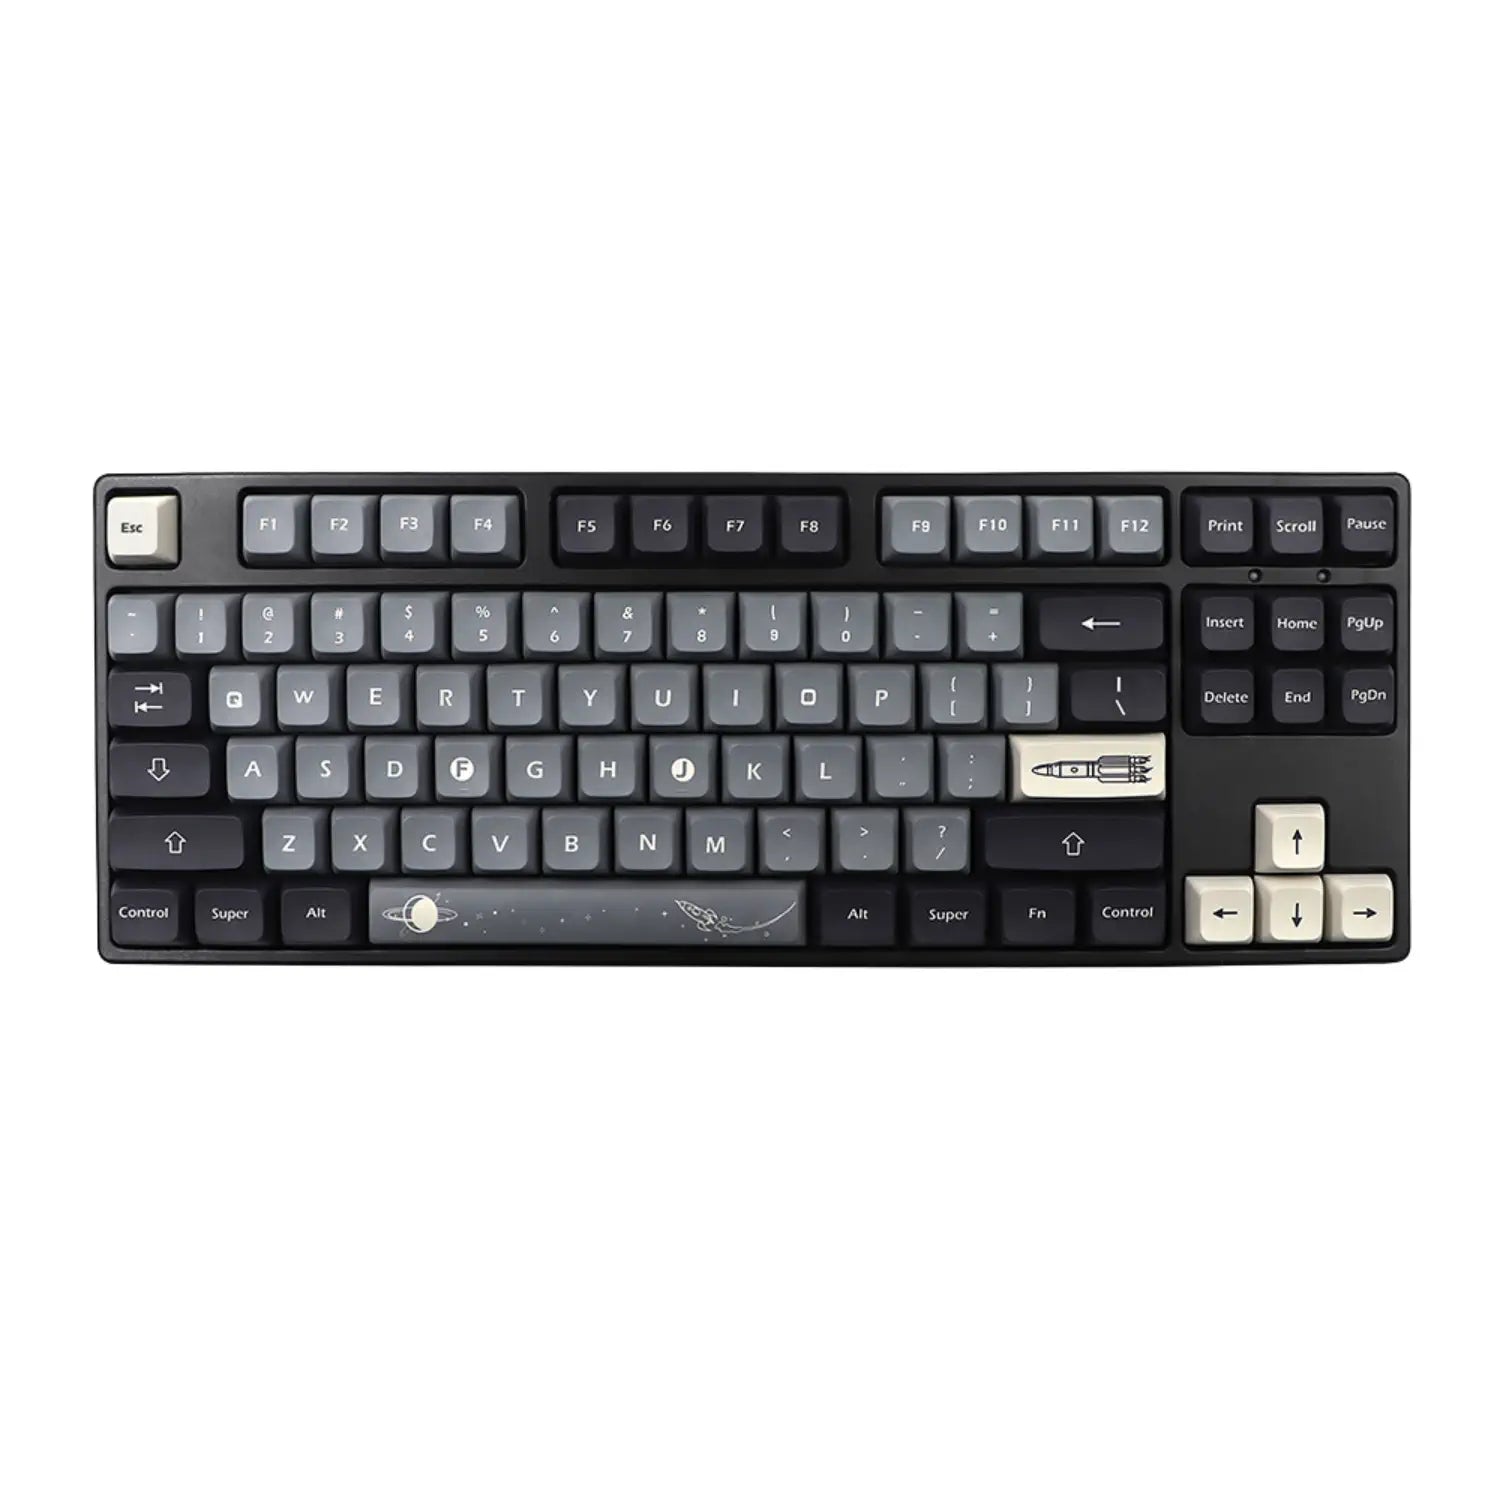

You just picked up a custom mechanical keyboard that speaks QMK/VIA and now you want to figure out what this famous piece of software actually does. Good news: VIA keyboard is today the easiest tool to reprogram a mechanical keyboard without writing a single line of code. In ten minutes, you will know what VIA does, how to check whether your model is compatible, how to install it, how to remap a key, how to program macros, how to play with layers, and how to fine tune the RGB key by key. We wrap up with a clear head to head between VIA, Vial and QMK Configurator so you can pick the right tool for your profile.
Key takeaways
VIA keyboard is the reference graphical configurator to reprogram a QMK mechanical keyboard without writing any code. Five points to keep in mind before you open the interface.
- VIA keyboard is an open source graphical interface that drives the QMK firmware of your custom mechanical keyboard.
- It lets you remap keys, program macros, manage layers and drive the RGB without ever recompiling the firmware.
- You use it straight from the browser (usevia.app) or as a desktop app, as long as you are on a Chromium based browser (Chrome, Edge, Opera).
- On a 65 % keyboard with four layers, VIA unlocks up to 260 programmable functions from only 65 physical keys.
- Most Ajazz, AKKO, AULA and ATTACK SHARK keyboards ship VIA compatible out of the box.
VIA keyboard, what it actually is
VIA keyboard is an open source graphical configurator that drives the QMK firmware of a custom mechanical keyboard, with no compilation required. In practice, you open the interface, you click on a key, you pick its new function, and the change applies live.
Before VIA, personalising a QMK keyboard meant editing a keymap.c file in C, recompiling the firmware, generating a .hex file and then flashing the keyboard with QMK Toolbox. Every single time. VIA made that process obsolete for 90 % of everyday needs: keymap changes are now persistent on the keyboard side and editable on the fly from a graphical interface.
In short:
- QMK = open source firmware running inside your mechanical keyboard.
- VIA = graphical interface that talks to QMK and edits the keymap without recompiling.
- Remap = action of changing the function assigned to a physical key.
VIA vs QMK, what is the real difference
QMK is the engine, VIA is the dashboard: the two work hand in hand and are not in competition. QMK lives inside the keyboard chip and handles keystrokes; VIA lives on your PC or in the browser and edits the way QMK interprets each key.
To clarify the roles, here is a comparison between the three main tools you will run into on the custom mechanical keyboard scene in 2026.
| Tool | Type | Interface | Keyboard compat | Live changes | Max layers | Macros | Licence |
|---|---|---|---|---|---|---|---|
| VIA | Graphical configurator | Web (usevia.app) + legacy desktop | VIA compatible QMK keyboards | Yes, persistent | 4 by default | 16 macros | MIT |
| Vial | Advanced VIA fork | Web (vial.rocks) + Desktop | Vial compatible QMK keyboards | Yes, persistent | Up to 8 | Unlimited, tap dance, combos | GPL |
| QMK Configurator | .hex firmware generator | Web (config.qmk.fm) | Every QMK keyboard | No, must flash | Unlimited | Yes, via JSON edit | GPL |
Bottom line: VIA is perfect for a first custom keyboard, Vial is for modders who want tap dance and advanced combos, QMK Configurator is only relevant when you have to generate a firmware from scratch.
Checking whether your keyboard is VIA compatible
A VIA compatible keyboard ships with both the QMK firmware and a JSON definition file recognised by the VIA app. Without both, the interface opens but stays empty. Three easy ways to check before you dive in:
- Read the manufacturer product page: it must mention VIA compatible or QMK/VIA supported.
- Check the official caniusevia.com site, which lists the models recognised by the configurator.
- Test it live: plug the keyboard in, open usevia.app, and see if the model shows up in the list.
Brands that pre flash VIA on their keyboards out of the factory include Keychron, AKKO, Ajazz, AULA, ATTACK SHARK, GMMK (model dependent) and Ducky (recent One 3 lines). In our Custom Ton Clavier catalogue, most recent Ajazz, AKKO and AULA keyboards arrive ready to use with VIA. If your keyboard is not recognised automatically, you can still manually flash the VIA firmware via QMK Toolbox, but the operation calls for a bit of technical confidence.
For a first VIA compatible custom keyboard with zero effort, aim for the most popular form factors: the 75 % keyboards and 60 % keyboards collections gather the compact models best supported by VIA.
Download and install VIA in 4 steps
Since 2023, VIA runs in the browser with nothing to install: head to usevia.app and you are set. The legacy desktop app is still on GitHub for offline use, but it is at the end of its life and the VIA team no longer recommends it.
The one absolute prerequisite: VIA relies on the WebHID API, which is only available in Chromium based browsers. Concretely, Chrome, Edge, Opera and Brave work, but Firefox and Safari are out. If you are on Safari, install Chrome or Edge just for the setup.
Here is the 4 step web install procedure:
- Plug the keyboard into a data USB port (charge only ports will not work).
- Open Chrome or Edge and go to usevia.app.
- Click on "Authorize device" and pick your keyboard in the HID popup.
- The interface automatically loads the current keymap and shows your keys.
If the HID popup does not see any device, try another USB cable or another port. On a laptop, always prefer a direct USB port over an unpowered hub.
The VIA interface in practice, the 4 tabs to know
The VIA interface is split into 4 tabs that cover 100 % of the personalisation needs of a custom mechanical keyboard. Understanding what each tab is for saves you thirty minutes of hunting for where to change the RGB colour or where to create a macro.
| Tab | Main function | User level | Typical use case |
|---|---|---|---|
| Configure | Remapping keys per layer | Beginner to advanced | Assigning Caps Lock to Ctrl |
| Key Tester | Testing each pressed key | Beginner | Checking that the remap works |
| Lighting | Per key or per zone RGB settings | Intermediate | Colouring the WASD cluster red |
| Settings | Global behaviour (auto save, layer indicator) | Advanced | Turning on the active layer indicator |
The Configure tab is where you will spend 80 % of your time. That is where all the logic for remaps, macros, layers and special keys lives.
Remapping a key step by step
A remap in VIA takes 4 clicks and applies live, with no reboot and no flash. It is the most powerful workflow the tool offers and the first reflex to build.
The exact procedure:
- Open the Configure tab and pick the target layer at the top of the screen (Layer 0 for the base).
- Click on the physical key you want to remap in the keyboard view: it starts blinking to show it is selected.
- Pick the new function in the bottom panel from Basic, Media, Macro, Layers, Special, QMK Lighting or Custom.
- Test the result live in the Key Tester tab.
Three seriously useful remaps to do as soon as you set the keyboard up:
- Caps Lock becomes left Ctrl: Windows and macOS shortcuts get noticeably more comfortable.
- Menu key becomes Print Screen: instant screenshots without hunting for the PrtScn key.
- Fn plus F5 triggers a copy paste macro: real time saved when editing or gaming.
The changes stick: even after unplugging and replugging the keyboard, the new keymap is still there. That is also why VIA is loved for portable setups; the keyboard keeps its soul no matter which host machine you plug it into.
Programming a macro (automated shortcut)
A VIA macro is a sequence of key presses triggered by a single physical shortcut, defined in the Configure tab. The tool supports up to 16 macros named M0 through M15, plenty for everyday use.
Real world use cases for a macro you will actually use:
- Automatically typing your full email address by pressing Fn plus M.
- Firing an in game combo (for example jump plus reload in a shooter).
- Opening a specific Discord server through a Windows plus D plus arrow key combination.
The creation procedure is simple: in VIA, open the Macros sub section, pick M0, type the sequence directly as plain text, then assign that M0 macro to a key from the Configure tab under the Macro category.
Power user tip: Vial (the advanced VIA fork) allows unlimited macros with tunable delays, tap dance and multi key combos. If your needs go beyond 16 macros, take a look at Vial at the end of the article.
Using layers to multiply functions
A layer is an extra mapping level activated on the fly by a modifier key, and it turns a small keyboard into a full command deck. On a 65 % keyboard with 4 layers, you reach 260 programmable functions from only 65 physical keys. That is more than what a 104 key full size gaming keyboard offers without any layer.
VIA manages 4 layers by default, numbered 0 to 3. Two key codes to know:
- MO(x): activates layer x only while the key is held (momentary).
- TG(x): toggles layer x, you turn it on once and then turn it off.
A concrete example of a 3 layer layout on a 75 % keyboard:
- Layer 0 (base): classic QWERTY or AZERTY layout for everyday typing.
- Layer 1 (Fn): arrow keys on WASD, media controls on the number row.
- Layer 2 (gaming): combo macros, ESC remapped to tilde, Windows key locked to avoid accidental drops out of the game.
The underlying idea: the fewer physical keys, the more useful layers become. That is why veteran modders often prefer a well configured 60 % keyboard or 75 % keyboard over a large full size board.
Customising RGB key by key with the Lighting tab
The Lighting tab in VIA lets you drive the RGB backlight either as an animated global effect, or as a fixed colour key by key. The feature depends directly on the hardware; not every VIA keyboard supports per key RGB.
Two modes are available:
- Effect: animates the keyboard with a preset (wave, breathing, rainbow, reactive to typing).
- Custom Colors: colours each key individually, handy to visually spot a key cluster.
Practical tip: map a distinct colour to each layer. Layer 0 in white, layer 1 in blue, layer 2 in red. You know which layer is active straight away without looking at the screen, and it is a game changer for gaming or video editing use.
What to do if VIA does not recognise the keyboard
The most common issue with VIA is keyboard detection on first launch, and 90 % of the time it is fixed with 6 quick checks. Before you conclude that your keyboard is dead, run through the following checklist.
| Symptom | Likely cause | Solution |
|---|---|---|
| No keyboard shows up in the HID popup | Non Chromium browser | Switch to Chrome, Edge, Opera or Brave |
| HID popup empty even in Chrome | HID blocked by an extension | Temporarily disable adblock/security addons |
| Keyboard detected but VIA shows "no keymap" | Missing .json definition file | Load the .json via the Load Draft button |
| Keyboard does not respond at all | "Charge only" USB cable | Try a proper data cable or change USB port |
| VIA detects the board but remaps do not apply | VIA firmware not flashed (vanilla QMK keyboard) | Flash the VIA firmware via QMK Toolbox |
| Keyboard appears and then disappears | Cheap unofficial VIA clone | Verify the model is genuine on caniusevia.com |
If none of the six checks unblocks the situation, fully restart the browser (close every window), unplug and replug the keyboard, and try again. In rarer cases, a firmware reset via the Fn plus Esc combo held for 3 seconds is enough to wipe the keyboard memory clean.
VIA, Vial or QMK Configurator, which one to pick in 2026
Our 2026 recommendation: VIA for 90 % of users, Vial for modders who want tap dance and combos, QMK Configurator only to flash a brand new keyboard. Here is how to decide quickly based on your profile.
- You are starting out with a custom keyboard: VIA is your ideal entry point. Clean interface, live changes, gentle learning curve.
- You are a seasoned modder and you want combos, tap dance, custom macro delays: Vial. The advanced open source fork takes the VIA interface and adds the missing features. Compatible with most VIA keyboards.
- You are flashing a hand built custom or an exotic DIY that is not listed by VIA: QMK Configurator. You edit the JSON keymap, generate a .hex, flash with QMK Toolbox. Then you go back to VIA or Vial for daily use.
Good to know: Vial handles .vil files and stays compatible with most VIA keyboards without extra tweaking. Moving from VIA to Vial does not mean buying new hardware, only adding the Vial firmware to your keyboard.
Our Custom Ton Clavier keyboards compatible with VIA
The vast majority of modern mechanical keyboards in our Custom Ton Clavier catalogue ship pre flashed with VIA, ready to open usevia.app straight out of the box. No manual flash needed, no compiling required.
Here are the collections where you will find VIA compatible models out of the box, sorted by brand and form factor:
- The Ajazz models (AK820 series and variants): very popular 75 % gasket mount format, VIA from the factory.
- The AKKO models (5075B Plus, 3084B): 75 % hot swap format, a QMK/VIA reference since 2023.
- The AULA models (F87 Pro and follow ups): TKL format with hot swap, VIA supported.
- The ATTACK SHARK models (M87 wireless): wireless TKL, VIA compatible in wired mode.
On the form factor side, if you are after a compact keyboard that fully exploits VIA layers, head to the 60 % keyboards collection. For a bit more native functionality without blowing up your desk footprint, the 75 % keyboards collection remains the best compromise in 2026. And for a serious TKL ready to use with VIA, the 80 % TKL keyboards collection is the obvious pick.
FAQ, common questions about VIA keyboard
Five questions cover the roadblocks most people hit the first time they open VIA keyboard. Quick and direct answers.
Does VIA work on Mac and Linux?
Yes, VIA works just as well on Windows, macOS and Linux, provided you use a Chromium browser. The usevia.app web app is cross platform, all you need is to open Chrome or Edge. On Linux, a few distributions require adjusting udev permissions to allow WebHID access to the USB device.
Do I need to uninstall QMK to use VIA?
No, absolutely not: VIA is a graphical layer on top of QMK, and the two coexist natively. Your keyboard still runs QMK internally, and VIA talks to it over USB HID. No uninstall, no conflict to worry about.
Are my VIA tweaks kept when I switch PCs?
Yes, the changes are stored directly in the keyboard memory, not on the PC. Unplug the keyboard, plug it into another machine, and your custom keymap is still active. It is one of the big advantages VIA has over software like Logitech G HUB or Razer Synapse.
VIA or Vial in 2026, which one moves faster?
Vial has been moving noticeably faster since 2024 thanks to its active community on advanced modder features. VIA is still more stable and better supported by the big manufacturers, but Vial is gaining ground on new custom keyboards and on exotic use cases (tap dance, combos, encoders).
Can I remap the Windows key on a VIA keyboard?
Yes, the Windows key (or GUI key) is fully remappable in VIA, including completely disabling it in gaming mode. The action happens in the Configure tab: click the Win key, pick the Special category, select KC_NO to disable it, or remap it to any other function. You can also use it as a momentary layer key on a compact keyboard.