


Introduction
You've invested in a high-performance mechanical keyboard, but you want to give it a unique touch? Customizing your keyboard case is a great way to personalize your setup and express your style. Whether you're a modding enthusiast or a curious beginner, this article will guide you through the essential steps to paint and customize your keyboard case .
In this guide, we'll show you how to prepare your keyboard, choose the right paint, apply the coats correctly, and finish your project with a durable finish. Follow our tips and transform your keyboard into a unique piece that reflects your personality!

Why customize the case of your mechanical keyboard?
Customizing a mechanical keyboard isn't limited to keycaps or switches. Modifying the keyboard case allows you to:
- Express your style : Adopt a color or design that suits you.
- Enhance the aesthetics of your setup : Match your keyboard to your desk or PC.
- Increase the value of your keyboard : A customized keyboard can become a highly sought-after, unique piece.
- Extending the life of the case : A fresh coat of paint can hide scratches and restore a like-new look.
Now let's move on to the steps to successfully complete your customization!
1. Prepare your keyboard area
Before painting your keyboard case , proper preparation is crucial. Good preparation ensures optimal paint adhesion and a clean finish.
1.1 Disassemble the keyboard
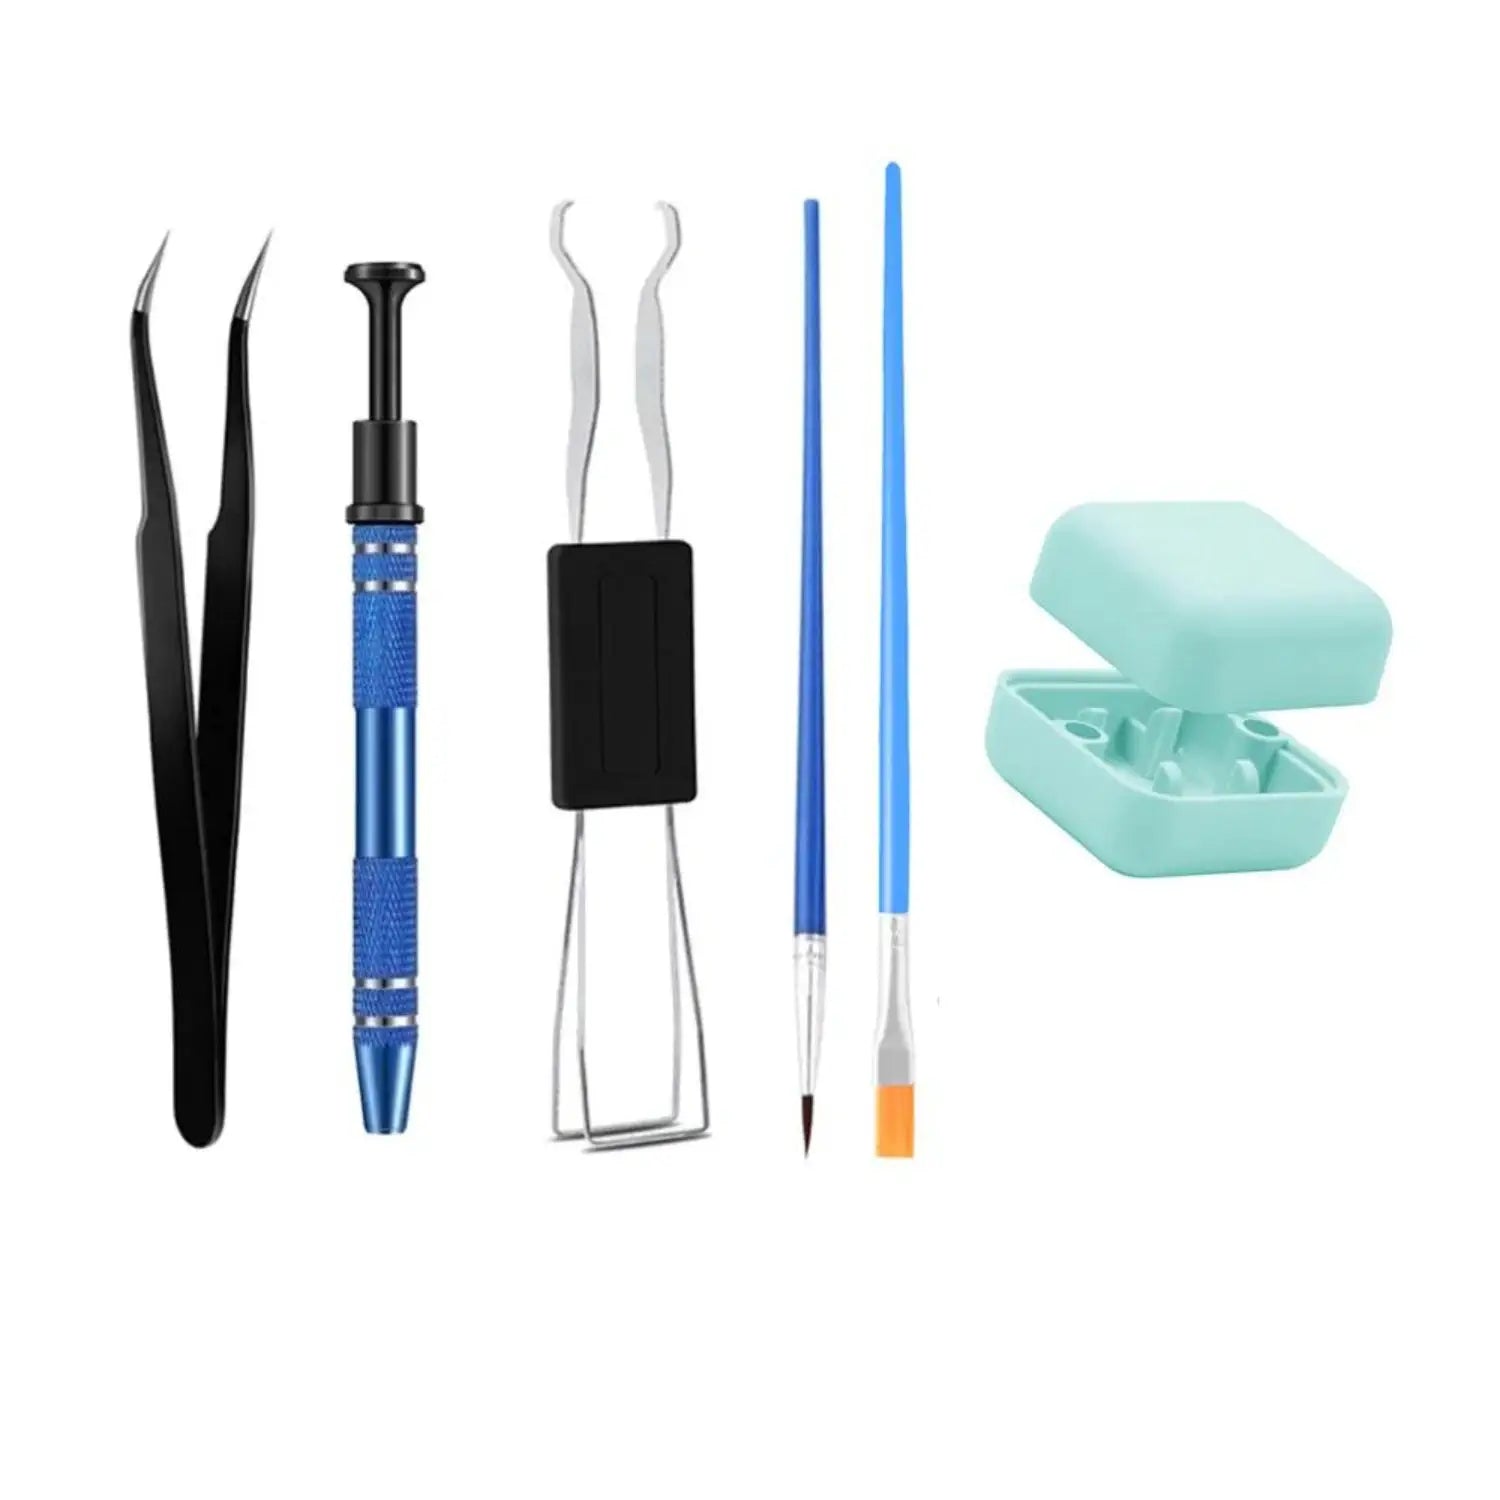
First of all, disassemble your keyboard by following these steps:
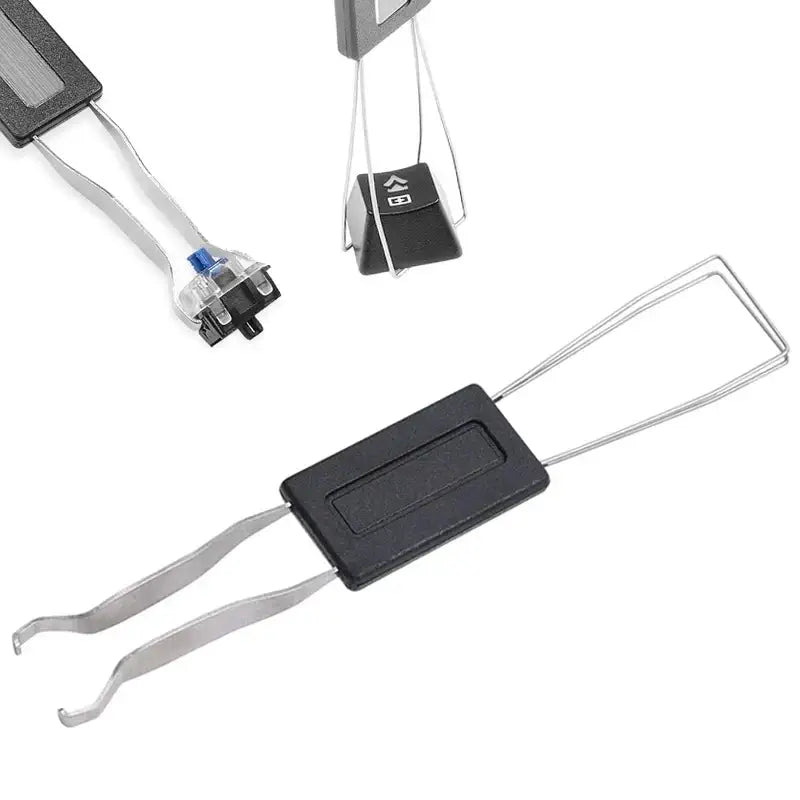
- Remove the keycaps with a keycap extractor.
- Unscrew the case using a suitable screwdriver.
- Disconnect the PCB board if necessary (be careful not to damage the ribbon cables and connectors).
- Separate the different parts of the case , according to the design of your keyboard.
💡 Tip: Take photos at each step to make reassembly easier.
1.2 Clean the surface of the case
For good paint adhesion, it is essential to thoroughly clean the case:
- Dust with a microfiber cloth.
- Degrease with 90% isopropyl alcohol to remove all traces of grease or oil.
- Lightly sand with fine sandpaper (400-600 grit) to promote paint adhesion.
2. Choose the right paint for your keyboard
Choosing the right paint is crucial for achieving an aesthetically pleasing and long-lasting finish. Here are the recommended types of paint:
2.1 Spray paint (aerosol)
- Easy to apply : Allows for a uniform finish without brushstrokes.
- Quick drying : Between 10 and 30 minutes per coat.
- Available in several finishes : Matte, glossy, satin, metallic effect.
3. Apply the paint to the keyboard case
3.1 Apply an undercoat (primer)
Applying a primer for plastic or metal is an essential step to ensure good paint adhesion.
- Shake the primer can well and apply a thin, even coat.
- Allow to dry for approximately 30 minutes to 1 hour.
- Lightly sand with 800 grit sandpaper to smooth the surface.
4. Advanced customization: techniques and inspirations

4.1 Special effects and original finishes
- Marbled effect : Apply several colors with a spray and use plastic film to create an organic effect.
- Stencil design : Use stencils to add patterns (logos, geometric shapes, etc.).
4.2 Adding stickers and details
- Vinyl stickers : Add logos or designs for a custom finish.
- Reactive UV paint : Ideal for an RGB gaming setup.
Conclusion
Customizing your mechanical keyboard case with a fresh coat of paint and personalized finishes is a great way to add a unique touch to your setup. With meticulous preparation , suitable materials , and careful application , you can achieve results worthy of the best modders!
To further customize your keyboard , check out our other detailed guides on choosing keycaps, switches, and advanced mods.
💡 And you, what design will you choose for your keyboard? Share your creations in the comments! 🎨🎮
```

1 comment
Hey, t’aurais pas pu foutre des vrai photosplutot que des truc générés par IA … Feignasse va !