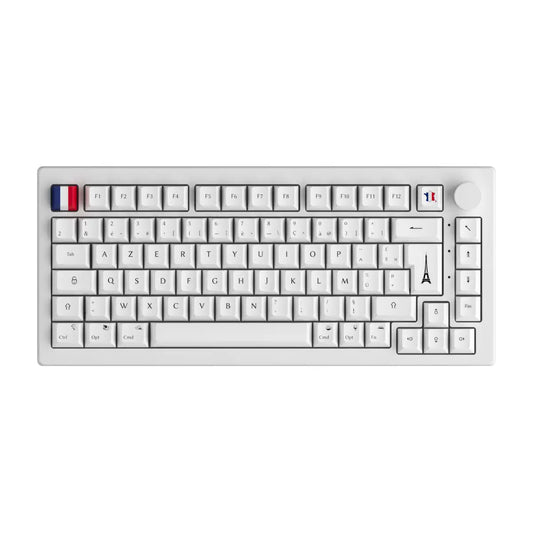
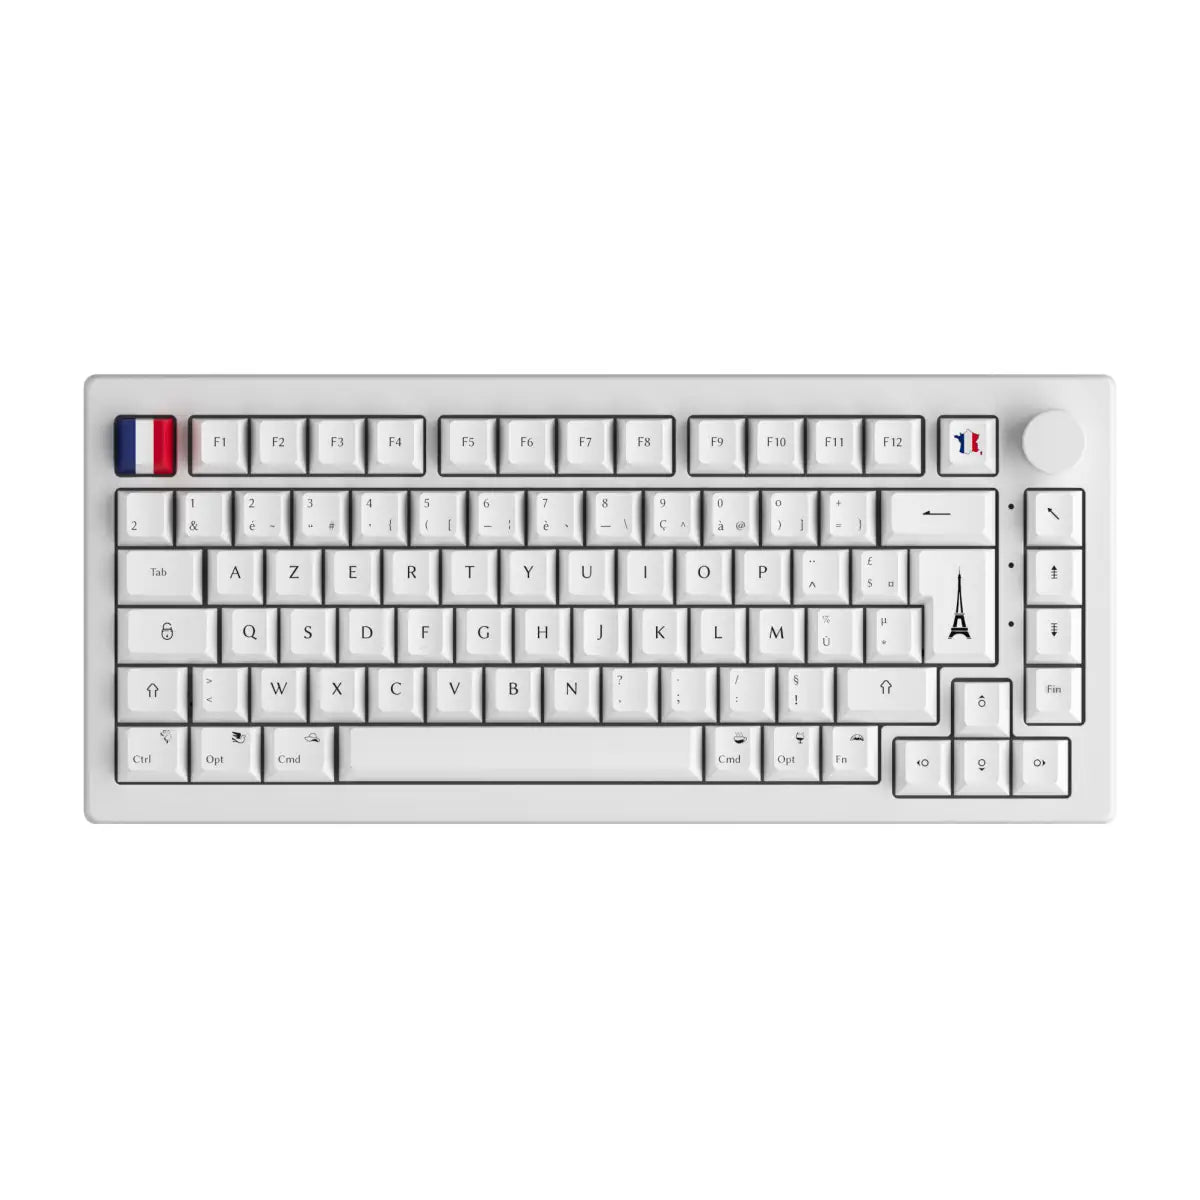
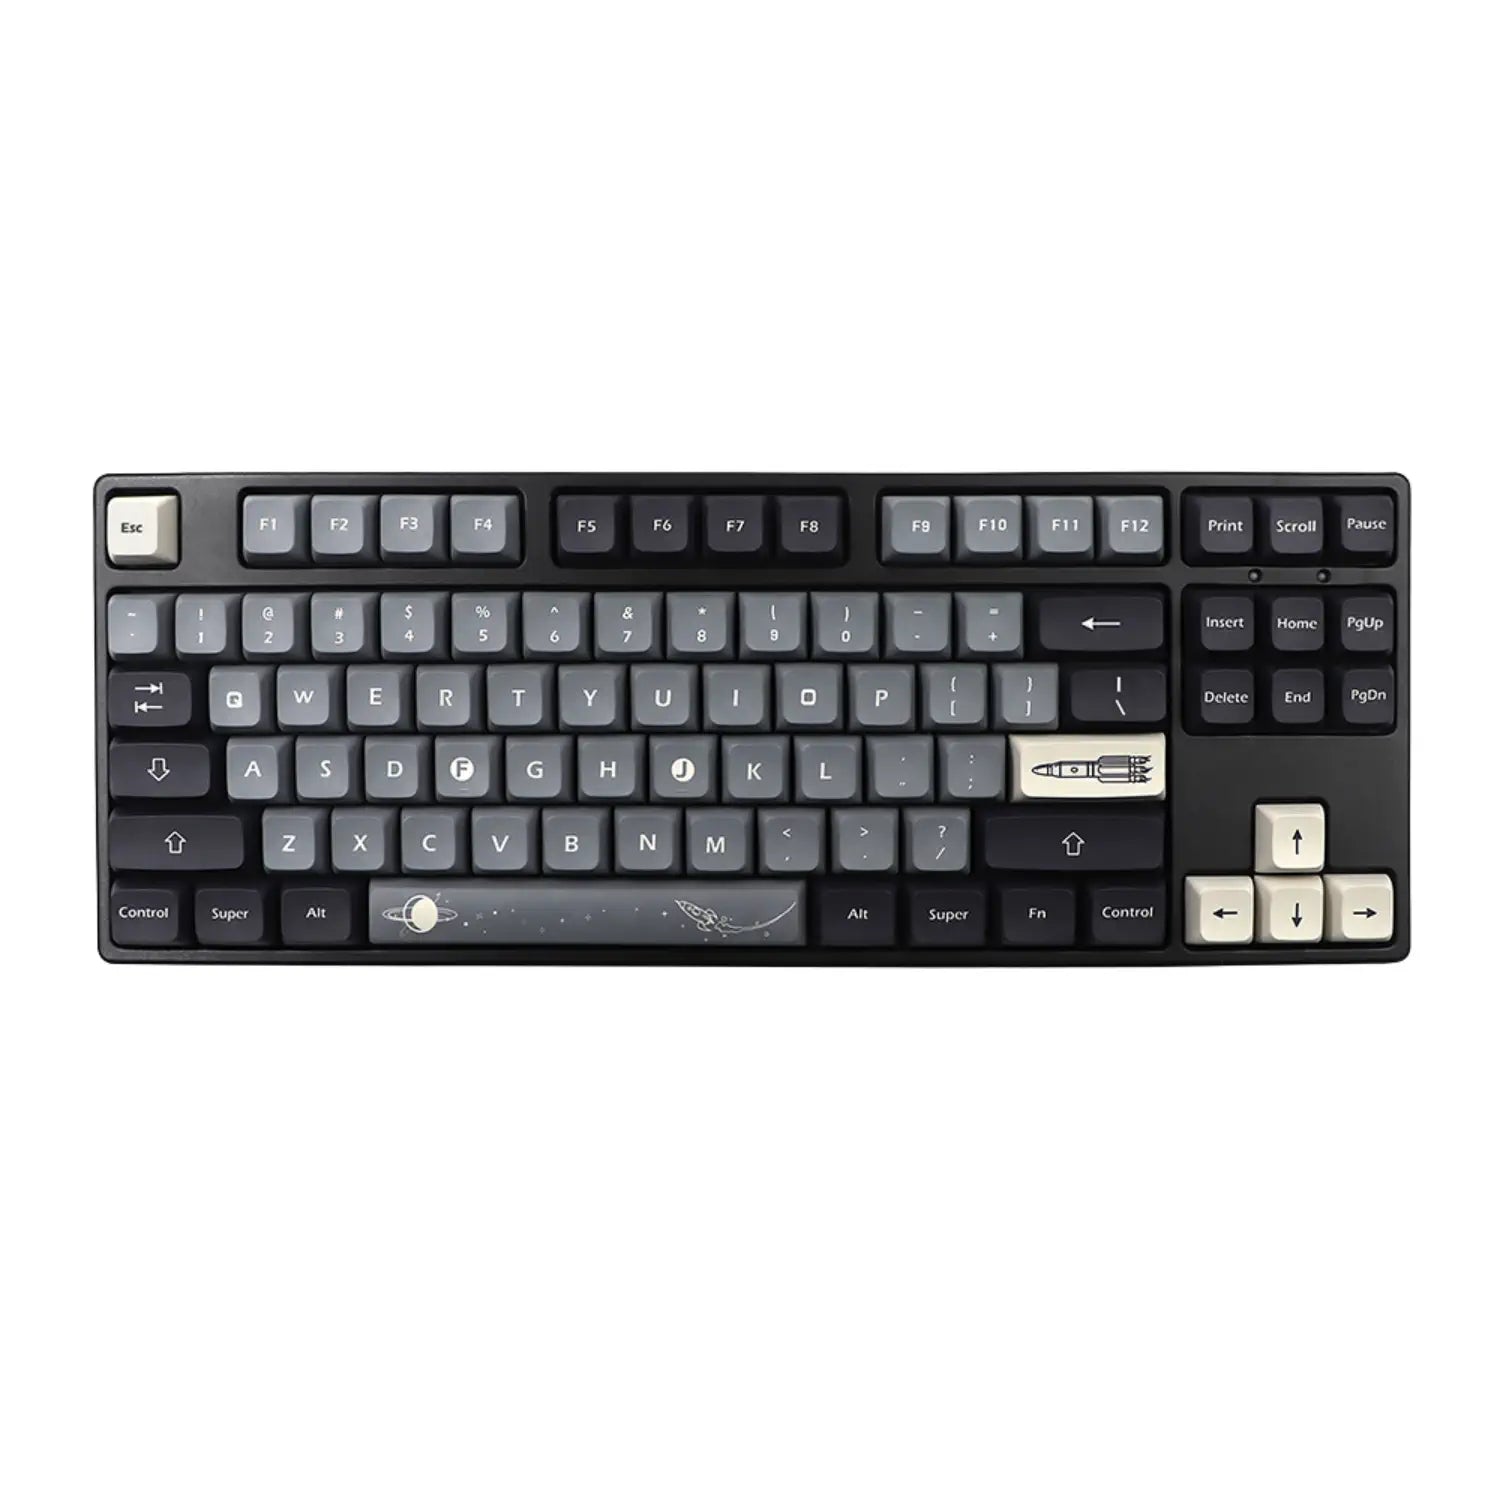

Search creamy keyboard on Google and you land almost entirely on sales pages: two Amazon listings, a twenty-eight model collection at one manufacturer, a marketplace, a Reddit thread. The word became a selling point in under six years, with no standard anywhere to say what it actually measures. And nobody warns you about the thing that matters most: creamy sound is not a component spec, it is the result of an assembly. So you can pay for a keyboard sold as creamy and end up with a dry sound, or make the one already on your desk creamy for the price of three consumables. Here is what the word really describes, the five variables that build that sound ranked by impact and by cost, and how to work through them on a keyboard you already own.
The key things to know about a creamy keyboard
Creamy sound gets built, it does not come guaranteed with a purchase. Four points worth holding in mind before you open a single product tab.
- The adjective creamy is a leftover from a product name, and it originally described a sense of glide under the finger, not a sound signature. The two are independent.
- The two cheapest levers, the stabilisers and the case foam, weigh more on the sound than the choice of switch.
- Long pole switches are marketed as performance switches and produce a dry, high-pitched sound: the exact opposite of a creamy goal.
- On an ISO layout keyboard, the real constraint is not the sound but keycap set compatibility: the thick keycaps people hunt down for their acoustics are mostly cut to the ANSI standard.
Creamy keyboard: what the words really describe
A keyboard described as creamy types without any mechanical catch and produces a sound whose high frequencies are damped: a matte, full thud rather than a dry clack. That is the useful definition. But it hides a mix-up at the origin of the word that explains most of the disappointment around the subject.
The adjective does not come from an acoustic description. It comes from a product name: the Gateron Cream, released in 2019, whose top and bottom housings are moulded in POM. POM, or polyoxymethylene, is an engineering thermoplastic that industrial mechanics uses for gears and bearings that run without grease, because its coefficient of friction is very low. It is described as self-lubricating. A switch whose stem slides inside a POM housing therefore glides remarkably well, even with no grease added.
That is what the word described to begin with: a friction property, a feel under the finger. The community then transferred the adjective over to acoustics, and that shift in meaning turned into a marketing trap.
Because glide and sound are two independent causal chains. Glide depends on the stem and housing pairing, so on the switch material and its lubrication. Sound depends on the volume of air trapped inside the case, on the mass of the keycaps and on the state of the stabilisers. A buyer reads "creamy switch", understands "creamy sounding keyboard", installs the switches, and ends up with a mechanical keyboard that glides like velvet and clacks like an empty box. Nothing is broken: the two variables simply had no reason to move together.
Creamy, thocky, clacky, marbly: the four sound signatures of a keyboard
Four signatures structure the community vocabulary, and what separates them comes down to a single variable: the share of high frequencies in the impact sound. That share depends on the stiffness of the parts hitting each other and on the volume of air resonating inside the case. The thinner and stiffer the parts and the emptier the box, the higher the sound climbs.
| Signature | What you hear | Dominant material cause | Where it is wanted |
|---|---|---|---|
| Creamy | Matte, full, sustained, no high peak | Damped cavity, dense keycaps, switch that glides | Long typing sessions, office, remote work |
| Thocky | Deep, short, muffled, almost stifled | Heavy case, thick foam, very thick keycaps | Chasing the low end, custom builds |
| Clacky | Bright, dry, with a marked high peak | Thin keycaps, screwed plate, empty cavity | Sharp audio feedback, deliberate taste |
| Marbly | Brief, slightly metallic clack | Long pole switch, stiff plate, little damping | Gaming, fast typing |
Creamy and thocky are neighbours and often confused, because both rest on damping the highs. The nuance is one of duration and pitch: thocky is deeper and shorter, creamy is smoother and more sustained. Clacky and marbly sit at the other end of the spectrum, and a keyboard that sounds marbly will never sound creamy, whatever switch you put in it.
The five variables that build a keyboard's creamy sound
Only five variables decide how a keyboard sounds, and the two cheapest weigh more than the other three. Existing guides list them flat, the switch, the stabilisers, the keycaps, the case, the foam, which is accurate but unusable: nothing tells you where to start or what you will hear most. Here is the same list, ranked.
| Variable | Effect on the sound | Impact | Effort and relative cost |
|---|---|---|---|
| Stabilisers | Removes the metallic rattle on the large keys | High | Low, a partial teardown |
| Case foam | Removes the echo of the internal air volume | High | Low, a full teardown |
| Keycaps | Treats every impact point in one move | Medium to high | Moderate, no tools |
| Switches and lubrication | Removes the catch and the spring ping | Medium | High on time, low on parts |
| Case mounting | Decouples the plate and reduces resonance | Medium | High, means changing the base |
The verdict fits in one sentence: the first two rows of that table are the cheapest and the most decisive. Swapping switches without having dealt with a rattling spacebar is barely audible, because the rattle masks everything else. It is counter-intuitive, and it is nonetheless the order experienced builders work in.
The sections below run through these variables, but in reverse order of cost: from the highest-return lever to the most demanding one.
Switches: which ones actually glide, and the long pole trap
To aim for creamy, take a linear, ideally with a POM housing, and steer clear of long poles. The switch does not build the keyboard's sound, it builds the typing feel and part of the impact noise. On an MX standard, total travel is 4.0 mm and the actuation point sits around 2.0 mm. Everything happens along that travel.
| Switch family | Typing feel | Expected sound signature | Verdict for a creamy goal |
|---|---|---|---|
| Classic linear | Smooth travel, no bump | Neutral, depends on the case | Good starting point, needs lubing |
| Linear with POM housing | Very pronounced glide straight out of the box | Neutral to matte | The best choice, glides with no grease |
| Tactile | Noticeable bump at actuation | A slight bump noise on top | Acceptable, but adds a stray noise |
| Long pole | Shortened travel, hard stop | Dry, high, clacky | Avoid, delivers the opposite of the result you want |
That last case deserves emphasis, because it is the most common mistaken purchase on this search. A long pole switch has an extended stem: it reaches the bottom earlier, its usable travel often drops below 3.5 mm, and the stop is abrupt. That architecture is sold as a responsiveness advantage, and it is one. But an abrupt stop against a stiff part is, by definition, a dry, high-pitched sound. Long pole and creamy are two contradictory goals.
That leaves lubrication, the single most transformative move with no change of hardware. A grease such as Krytox 205g0 removes the residual catch of the stem and the spring ping, that high metallic buzz you mostly hear on keys released quickly. The step-by-step is in our dedicated guide to mechanical keyboard lubricant, no need to repeat it here. On the hardware side, mechanical keyboard switches come in very different families depending on the manufacturer, notably at Gateron and at Cherry.
Keycaps: material and wall thickness before design
Changing keycaps is the highest-return lever on the list: no tools, no teardown, and every key on the board treated in a single move. Three criteria matter, and design is not one of them.
- The material. PBT (polybutylene terephthalate) is denser than ABS and produces a more matte impact, where thin ABS sounds bright and dry. PBT also has the advantage of not going shiny as fast on the most-hit keys.
- The wall thickness, which matters more than the material printed on the box. A thin-walled PBT will stay brighter than a thick ABS. What damps is the mass of plastic above the switch, not the acronym on the packaging.
- The profile. A tall profile such as Cherry or OEM traps more air above the switch than a low profile, and that air volume takes part in the resonance. Tall and thick is the combination most favourable to a full sound.
| Keycap set criterion | Favourable to creamy | Unfavourable |
|---|---|---|
| Material | Dense PBT | Thin ABS |
| Wall thickness | Thick | Thin |
| Profile | Tall, Cherry or OEM type | Low, flat type |
| Manufacturing | Thick doubleshot | Laser marking on a thin shell |
In practice, a set of PBT keycaps with thick walls, ideally in Cherry profile, is the change you hear fastest. The rest of the custom keycaps catalogue is there to tune the look once the acoustic criterion is settled.
Creamy keyboard on an ISO layout: the keycap set constraint
On an ISO layout keyboard, the obstacle is not acoustic but mechanical: the thick keycaps sought after for their sound are mostly cut to the ANSI standard, which does not cover an L-shaped Enter key. Guides written around ANSI boards skip this point entirely, and it is exactly where buyers on an ISO layout get stuck. On an ANSI base, the Enter key is a horizontal bar and the left Shift is long, whereas a keyboard on the ISO standard, French or otherwise, expects an L-shaped Enter and a short left Shift.
The practical consequence: an ANSI set fitted on an ISO keyboard leaves two keys uncovered, and not minor ones. There are only two honest ways out.
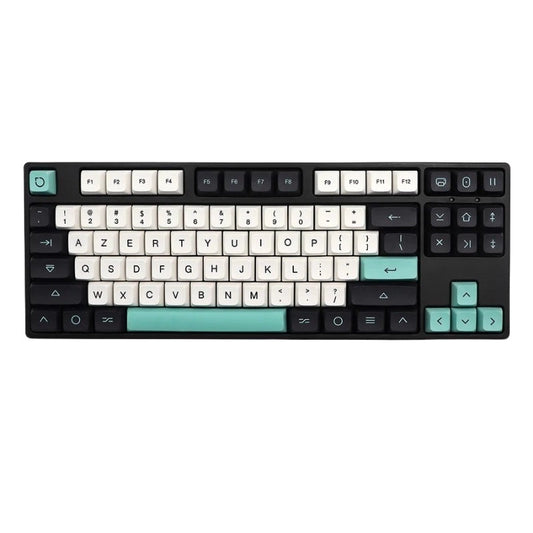
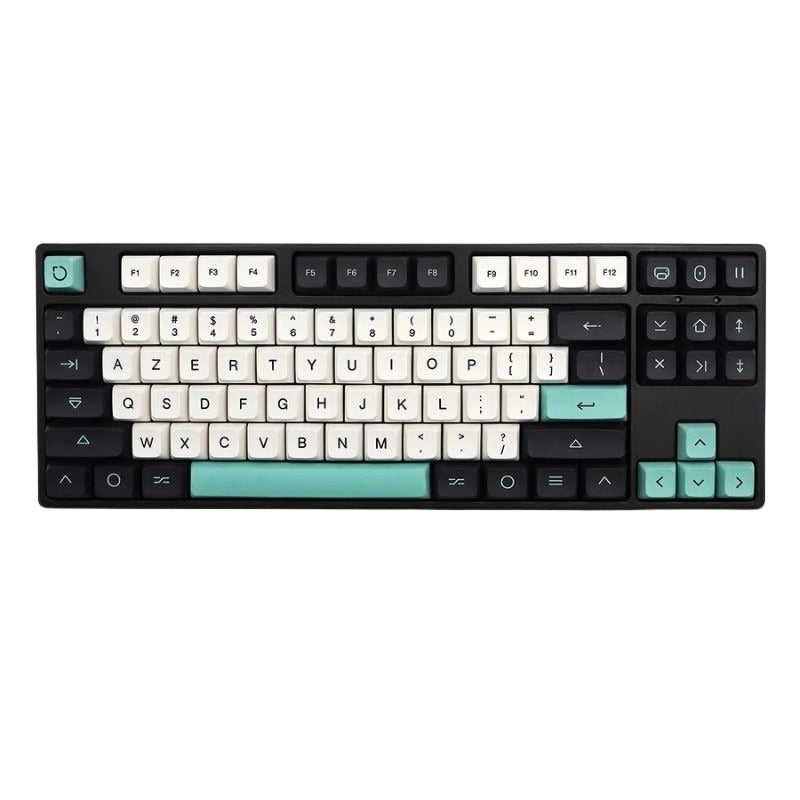
- Pick an explicitly compatible set, on the AZERTY keycaps side with their ISO cut, which narrows the aesthetic choice but guarantees the fit.
- Accept an ANSI base and remap the characters, which plenty of builders end up doing. The AZERTY ANSI keycaps sets cover that middle ground.
If you are starting from a fresh base, checking the standard before ordering the keycap set avoids most of the nasty surprises, including on an already assembled AZERTY keyboard.
Case, foam and keyboard mounting: the resonance box
A keyboard is a box, and an empty box rings: the case and its damping are what explain why two keyboards with identical switches and keycaps can sound radically different. It is also the variable buyers underestimate most. Three levers, from the highest return to the most demanding.
- The case foam, slipped between the PCB and the bottom of the case. It removes the echo of the internal air volume and it is, for effort spent against result gained, the highest-return mod on this whole list.
- The plate foam, sandwiched between the plate and the PCB. It dulls the impact of the bottom-out, the moment the stem hits the floor.
- The mounting. A gasket mount suspends the plate between soft gaskets instead of screwing it to the case: the plate is decoupled, it vibrates less and transmits less. A screwed tray mount, by contrast, sends every impact straight into the shell.
Case material counts too, and it should be said plainly: a dense, thick base absorbs better than a thin shell, however much foam you add. The detail on foam and the tape mod is covered in our article on the foam mod and the tape mod. On the hardware side, custom keyboard cases, plates and custom keyboard kits let you choose a mounting style rather than put up with one.
Keyboard stabilisers: the detail that cancels out everything else
A rattling spacebar ruins the sound signature of an otherwise perfectly built keyboard: it is the very first fault to fix. Keys of two units and wider, the spacebar, the Shift, the Enter and the Backspace, do not sit on their switch alone. They are guided by stabilisers, a stem and wire assembly that spreads the press across the full width of the key. Badly adjusted, that mechanism produces a high metallic rattle.
Why does this fault outweigh all the others? Because the spacebar is the most-hit key on the board, the widest and the most exposed, and because the ear picks out a metallic peak instantly, even buried in a sound that is otherwise matte. No creamy switch, no foam and no thick keycap set makes up for that noise.
Three causes almost always combine.
- The play of the stem in its housing, which lets the part vibrate sideways on every press.
- The lack of grease on the contact points between the stem and the wire.
- The wire touching the PCB as the key returns, which produces a dry clack.
All three can be dealt with: grease the contact points, reduce the play of the stem, damp the point where the wire lands on the board. It is patient work, on four keys only, and it is the best investment of time in the entire process. Keyboard stabilisers can also be replaced, when the stock parts are too rough to be salvaged.
Making a keyboard you already own creamy: the five steps in order of return
Five steps are enough, and they rank by return: the stabilisers, the case foam, the keycaps, the lubrication, then the case only once everything else is done. Nobody addresses this question in the search results, for a simple reason: the pages that rank all have a keyboard to sell.
- Treat the stabilisers on the four large keys before anything else. Partial teardown, no parts to buy in most cases, and the most audible gain.
- Add a case foam at the bottom of the case. A full teardown is needed, but the part is just a sheet cut to the shape of the base.
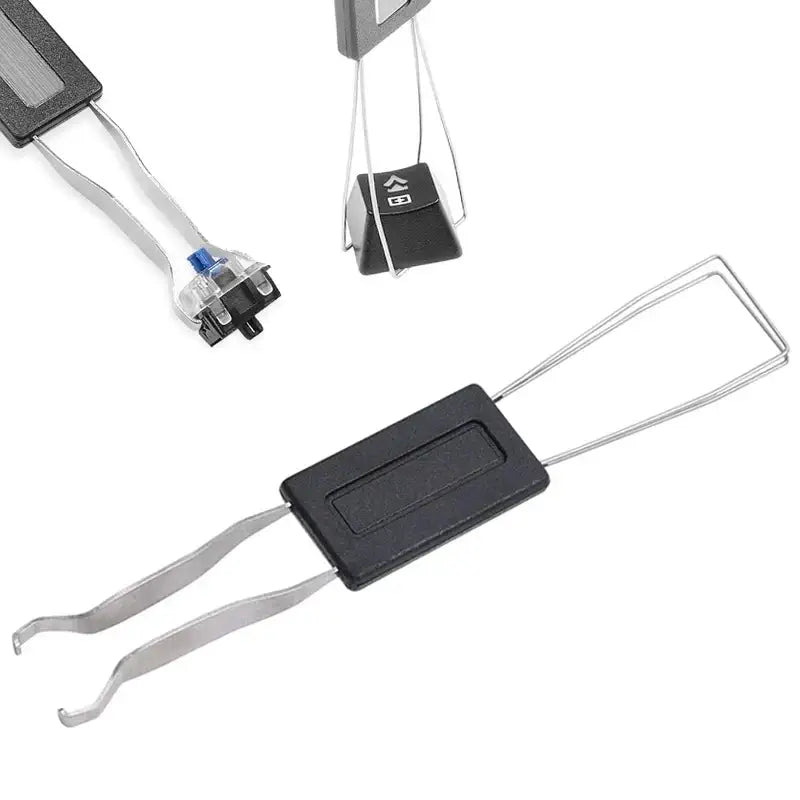
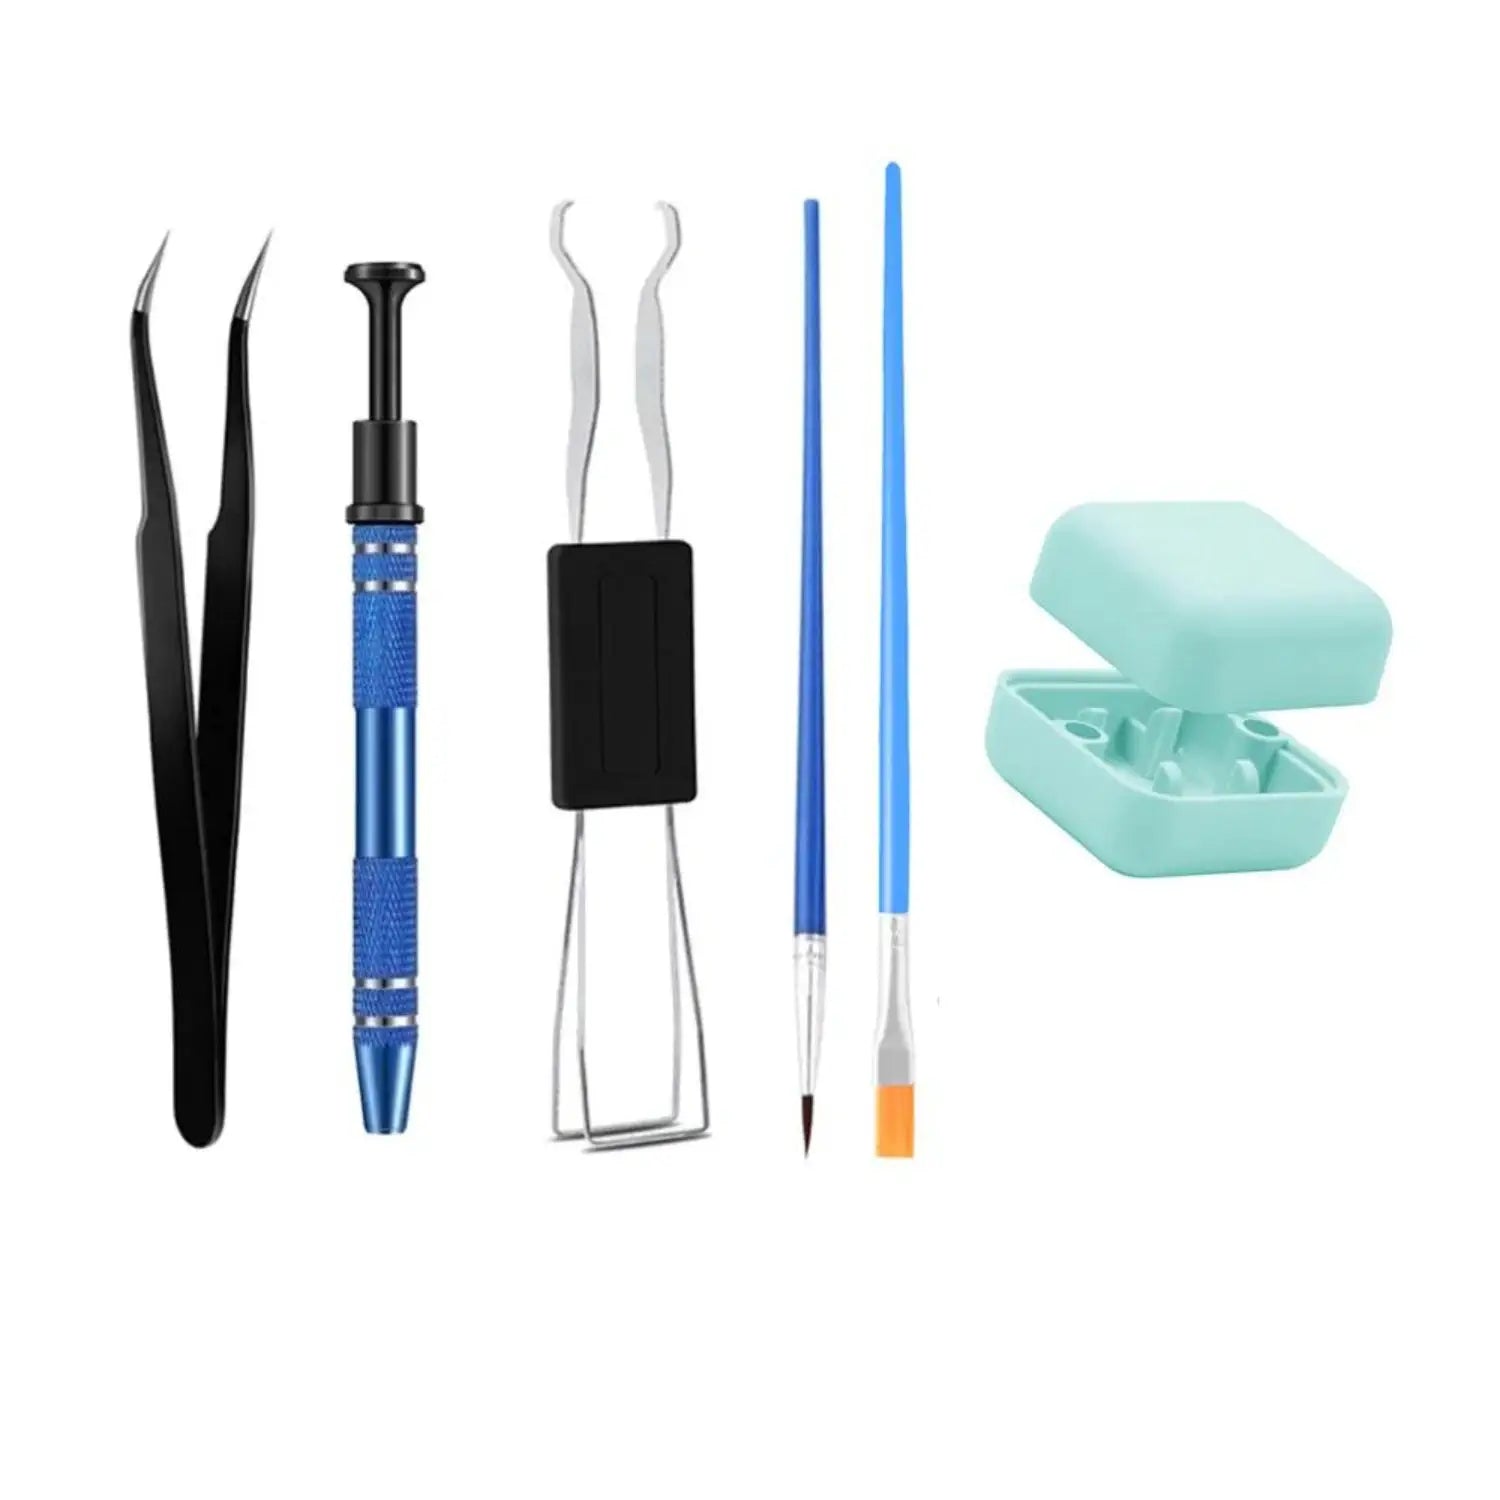
- Change the keycap set for a thick-walled PBT. No teardown, a keycap puller is enough, and the result is audible immediately across every key, which is 104 impact points on a full-size board.
- Lubricate the switches, or replace them if the keyboard is hotswap. This is the longest step, several hours for the 87 switches of a TKL, but it costs almost nothing in parts.
- Consider a case with a decoupled mounting only if the four previous steps are done. Otherwise you are paying for a base to mask faults that could have been fixed for free.
A suitable teardown tool covers the first three steps. And to settle buying against building: a keyboard sold as already creamy saves time, but the word is not standardised and nothing guarantees the stabilisers were treated at the factory. If you already own a hotswap custom keyboard, the answer is clear: it can be transformed for the price of three consumables, and the result will beat a blind purchase. If your current keyboard cannot be opened up, then yes, buying is justified, but choose it on its mounting and its foam, not on the adjective printed on the product page.
FAQ: creamy sound and mechanical keyboards
What is a creamy keyboard in one sentence? A keyboard whose keypress glides with no catch and whose sound is matte and full, because the high frequencies of the impact are damped by the cavity, the keycaps and the stabilisers.
Which switch should you choose for a creamy sound? A linear, ideally with a POM housing, and lubed. Above all, avoid long poles: their abrupt stop produces a dry sound, the opposite of the result you are after.
Is a creamy keyboard suitable for an office or an open plan? Yes, and that is its best ground. A creamy sound is by definition a damped sound with no high peak: it is the least disruptive sound profile for the people around you. A clicky keyboard, on the other hand, stays a social problem.
Can you make a membrane keyboard creamy? No. A membrane keyboard has no removable stabilisers, no plate and no replaceable switches. The levers described in this article simply do not exist on that architecture.
Do you need a hotswap keyboard to get this sound? No, but it changes the difficulty. Without hotswap the switches are soldered, so lubing them means desoldering one by one. The first three steps, stabilisers, case foam and keycaps, remain available on any keyboard that can be opened up.
Creamy or thocky, which one should you pick? Both rest on damping the highs, so the same levers get you there. Aim for thocky if you want a deep, short sound: it calls for a heavier case and thicker foam. Aim for creamy for a smoother, more sustained sound, one that forgives sloppy assembly more readily.